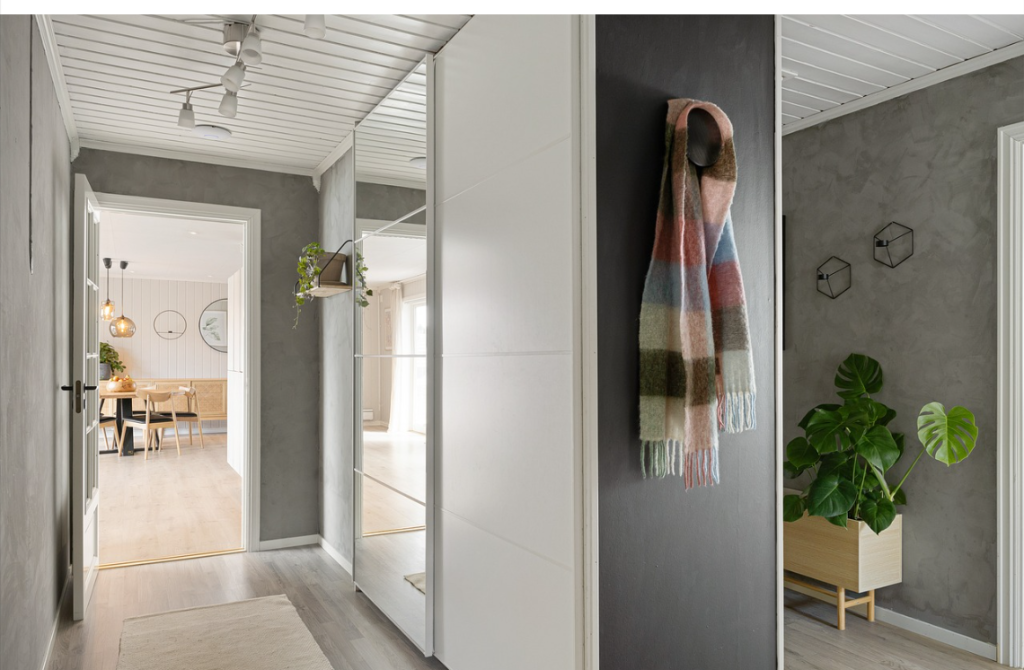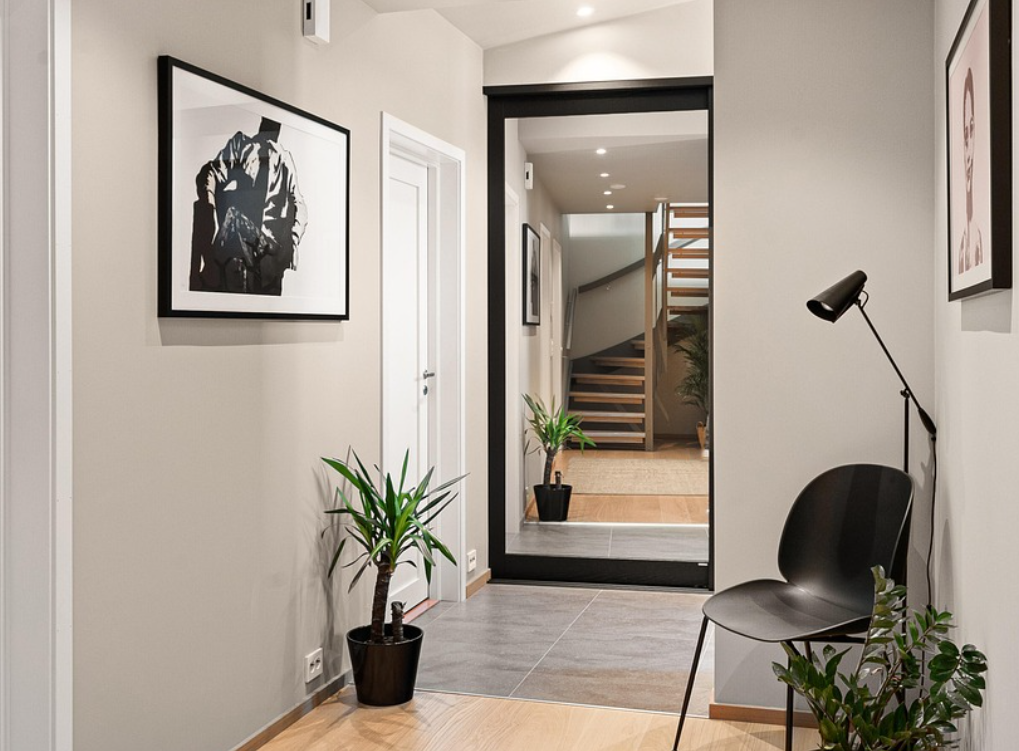
Swapping old closet doors for mirrored ones is one of the fastest ways to upgrade a Toronto home. In a single weekend, you can add full‑length mirrors, brighten a room, and make small spaces feel larger without changing any walls. For bedrooms, hallways, and entry closets, mirror doors deliver both style and function with surprisingly little disruption.
How Mirrored Doors Change A Room
Mirrored closet doors do more than provide a place to check your outfit. They:
- Reflect natural and artificial light, making rooms feel brighter.
- Create a sense of extra depth in small bedrooms and condos.
- Reduce the need for separate standing mirrors that take up floor space.
In Toronto homes where square footage is tight, this extra visual space and light makes rooms feel less cramped and more comfortable.
Style Options That Work With Existing Décor
Modern mirror closet doors come in several styles, so you can match them to the rest of your home:
- Framed sliding doors
Slim metal or wood frames around the mirror panels give a clean, contemporary look and work well in bedrooms and hallways. - Frameless or minimal frame doors
Nearly edge‑to‑edge glass creates a sleek, modern feel that suits condos and renovated spaces. - Panelled or divided mirrors
Subtle horizontal or vertical divisions can echo window patterns or add visual interest without feeling busy.
Choosing the right frame color also helps tie doors into existing trim, flooring, and hardware.
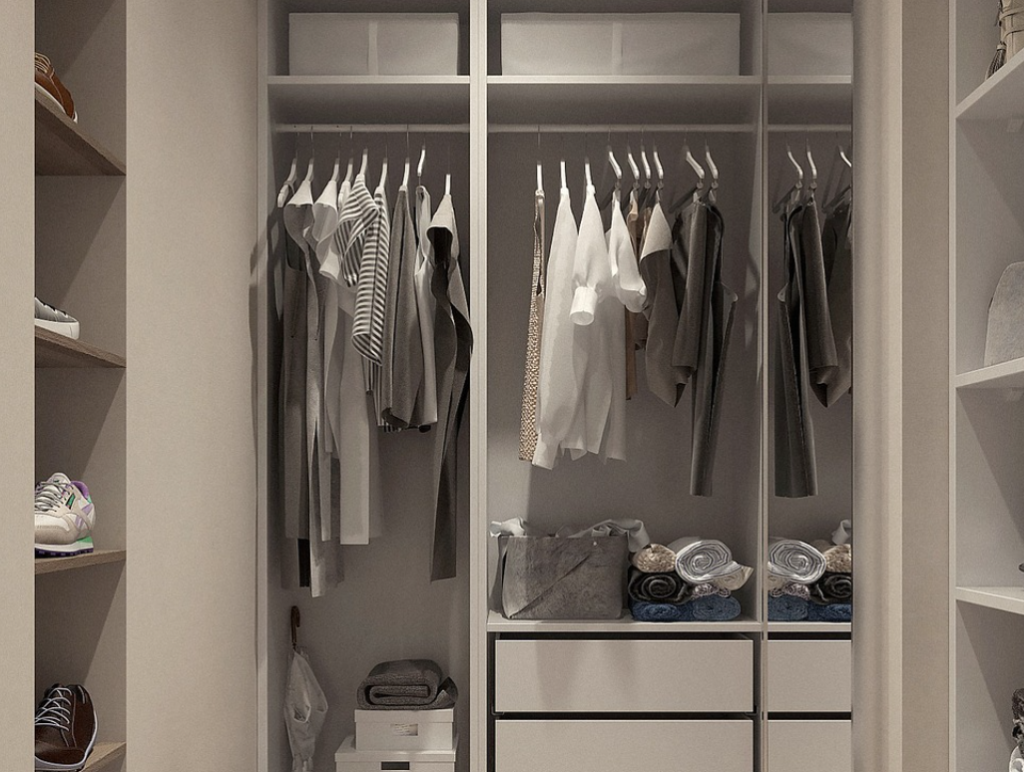
Practical Benefits For Everyday Use
Beyond appearance, mirrored closet doors add everyday convenience:
- Full‑length viewing for clothing and shoes without adding extra furniture.
- Easy cleaning compared to textured or heavily detailed doors.
- Sliding options that save floor space where swinging doors get in the way.
They are especially useful in narrow rooms, where door swings and free‑standing mirrors would make layout more awkward.
A Weekend‑Scale Upgrade
Replacing closet doors is usually a short, contained project:
- Old hollow core or dated panel doors are removed.
- Tracks or hinges are updated as needed for the new mirror units.
- New doors are installed and adjusted for smooth operation.
Most homeowners can fit this work into a weekend window, making it a realistic upgrade even in busy households.
Why Work With Keystone Home Products
To get mirror doors that feel solid and safe, it is important to choose quality glass and hardware and have everything measured correctly. Keystone Home Products can size mirror closet doors to your openings, recommend frame styles that suit your rooms, and install them so they slide or swing smoothly. For Toronto homeowners who want a noticeable improvement without a full renovation, mirror closet doors are an ideal “one weekend” project.